Linux on Surface RT - (nearly) full featured OS
A lot of progress has been made by the Open Surface RT team since my last post on this subject. It's time for an update.

A lot of progress has been made by the Open Surface RT team since my last post on this subject. It's time for an update.
Like the last time, I will take their Gitbook and Discord conversations as sources. You can find detailed information here: https://openrt.gitbook.io/open-surfacert/
UEFI jailbreak
The last time I wrote on this subject, it was only possible to boot Linux using the Fusée Gelée exploit and loaders that would setup the memory for Linux.
This method has 2 major disadvantages: it requires to trigger the exploit again each time the device is booted (a tethered exploit) and the built-in UEFI firmware is not executed, meaning that we have to manually setup the whole hardware to allow Linux to boot.
If we wanted to install Linux on the internal memory and boot it as simply as pressing the power button, we would need an exploit to unlock the bootloader.
As I discussed in my previous post, booting using UEFI normally requires that bootmanager applications executed by the bootloader are signed by Microsoft. That's where the Golden Key exploit came into play by enabling the test signing mode. A special mode normally used by developers but unlockable on any production Surface RT.
It does not disable Secure Boot but in test signing mode, the bootloader will execute any self-signed bootmanager app.
After my last post, an exploit called Yahallo was published last year, allowing to abuse an instruction of Tegra 3 and 4 processors that allows overwriting protected memory through a buffer overflow vulnerability (more detailed explanations). By writing over the right registers, it is possible to unprotect the TrustZone memory space which normally requires privileged access.
Ultimately, this exploit allows to use protected UEFI handles and more specifically one that allows reconfiguration of the Secure Boot policy. This way, it is possible to completely disable Secure Boot and run arbitrary code (aka custom Linux Kernel) in the boot chain.
Another problem encountered was the fact that Microsoft's bootloader used pages of the RAM for the TrustZone that were conflicting with memory pages used by Linux. It is impossible to get rid of Microsoft's bootloader without hardware modification or Fusée Gelée (which is a tethered exploit and only allows to bypass it momentarily) as it is stored on a one-time programmable SPI flash memory. This can be fixed by patching the UEFI stub to relocate the Linux Kernel to another location in memory.
Keeping Microsoft's bootloader without bypassing it forces us to boot Linux in UEFI mode. On ARM, the UEFI stub boots the Kernel in the usual Device Tree mode by providing a Device Tree generated at compilation time and injects UEFI handles. The Kernel will refer to these to interact with the UEFI firmware (most actions will be taken without ACPI calls, with a notable exception to enable all 4 CPUs when the Kernel boots).
To wrap up everything, booting Linux without exploiting Fusée Gelée requires the following steps:
- Enable test signing mode to be able to execute self-signed bootmanager applications
- Run the Yahallo exploit as a bootmanager application to disable Secure Boot
- Patch and run the UEFI stub to load Linux at a carefully selected memory base (similarly to what has been done by the Raspberry OS' developers)
- Carefully forge a Device Tree and load appropriate drivers in the Linux Kernel to be able to use the hardware
A word of warning
Despite the tremendous work done by the Open Surface RT team and the progress made since my last article, Linux on Surface RT is still not fully ready for everyday use. Well... Let's say it is, but for advanced Linux users and if you don't have anything that consumes computing power (e.g. viewing videos on YouTube).
Each boot process has its own advantages and drawbacks but the most impactful difference is that APX boot is a tethered jailbreak, meaning that an exploit must be run at each reboot. The UEFI process allows to install Linux directly on the device and boot it without any special action.
This method will have less chances for you to brick your device but stay extra careful and double-check everything you do.
At the time of writing, the following features are compatible:
- Audio output
- Screen & touch
- WiFi (stable on APX boot in a near future as uBoot is getting fixed)
- Most sensors
- touchCovers/typeCovers (any cover at least up to the 3rd gen)
- USB
- HDMI
- Battery & charging
But the following features do not work (yet):
- Bluetooth
- Audio input
Moreover, when booted with UEFI, Linux is unable to use Dynamic Voltage Frequency Scaling (at the moment). That results in degraded performances of the CPU and excessive heating of the SoC. APX boot does not cause the issue.
Install postmarketOS
Unlike the last time I wrote on this subject, the installation process is now rather easy to conduct for experienced users who have no extensive knowledge about ARM architecture.
The following process will allow to execute Linux using UEFI.
First of all, it is necessary to disable Secure Boot to be able to execute unsigned code at boot. To do this, we will exploit the vulnerability we discussed above to elevate privileges on the memory and overwrite the configuration of the UEFI firmware.
But to be able to run code not signed by Microsoft in the boot chain, we first need to install the Microsoft Golden Keys. This is only possible if the system is running Windows 8.0 or 8.1 and has not been patched since September 2016. It is possible to downgrade your installation if you updated it.
Follow the instructions to prepare a USB key suited to install Golden Keys and Yahallo exploits. As I use Linux as my main OS, I took care to follow these instructions to properly format the key. It works just fine.
You will have to reboot twice: one to install Golden Keys and a second time to install Yahallo and disable Secure Boot. If you are installing Linux, you don't need to enable test signing.
Once these steps are done, you can prepare a new USB key (overwrite the one you used previously if you don't have enough keys) to install postmarketOS. To do so, go to the wiki page and follow instructions to install from pre-built images.
You have several choices for the image to download but it doesn't really matter as only the desktop environment changes from one to another. I chose XFCE but you can settle for what you prefer (you may want to avoid mate as it could be a bit more resource hungry).
Once your USB key is ready, you will have to connect it to the USB port of the Surface RT (use a USB hub if you want to connect a keyboard).
To reboot to the UEFI recovery mode, hold SHIFT while pressing the reboot button in Windows. In the recovery menu you can select the "Recover from a drive" option to boot from the USB key.

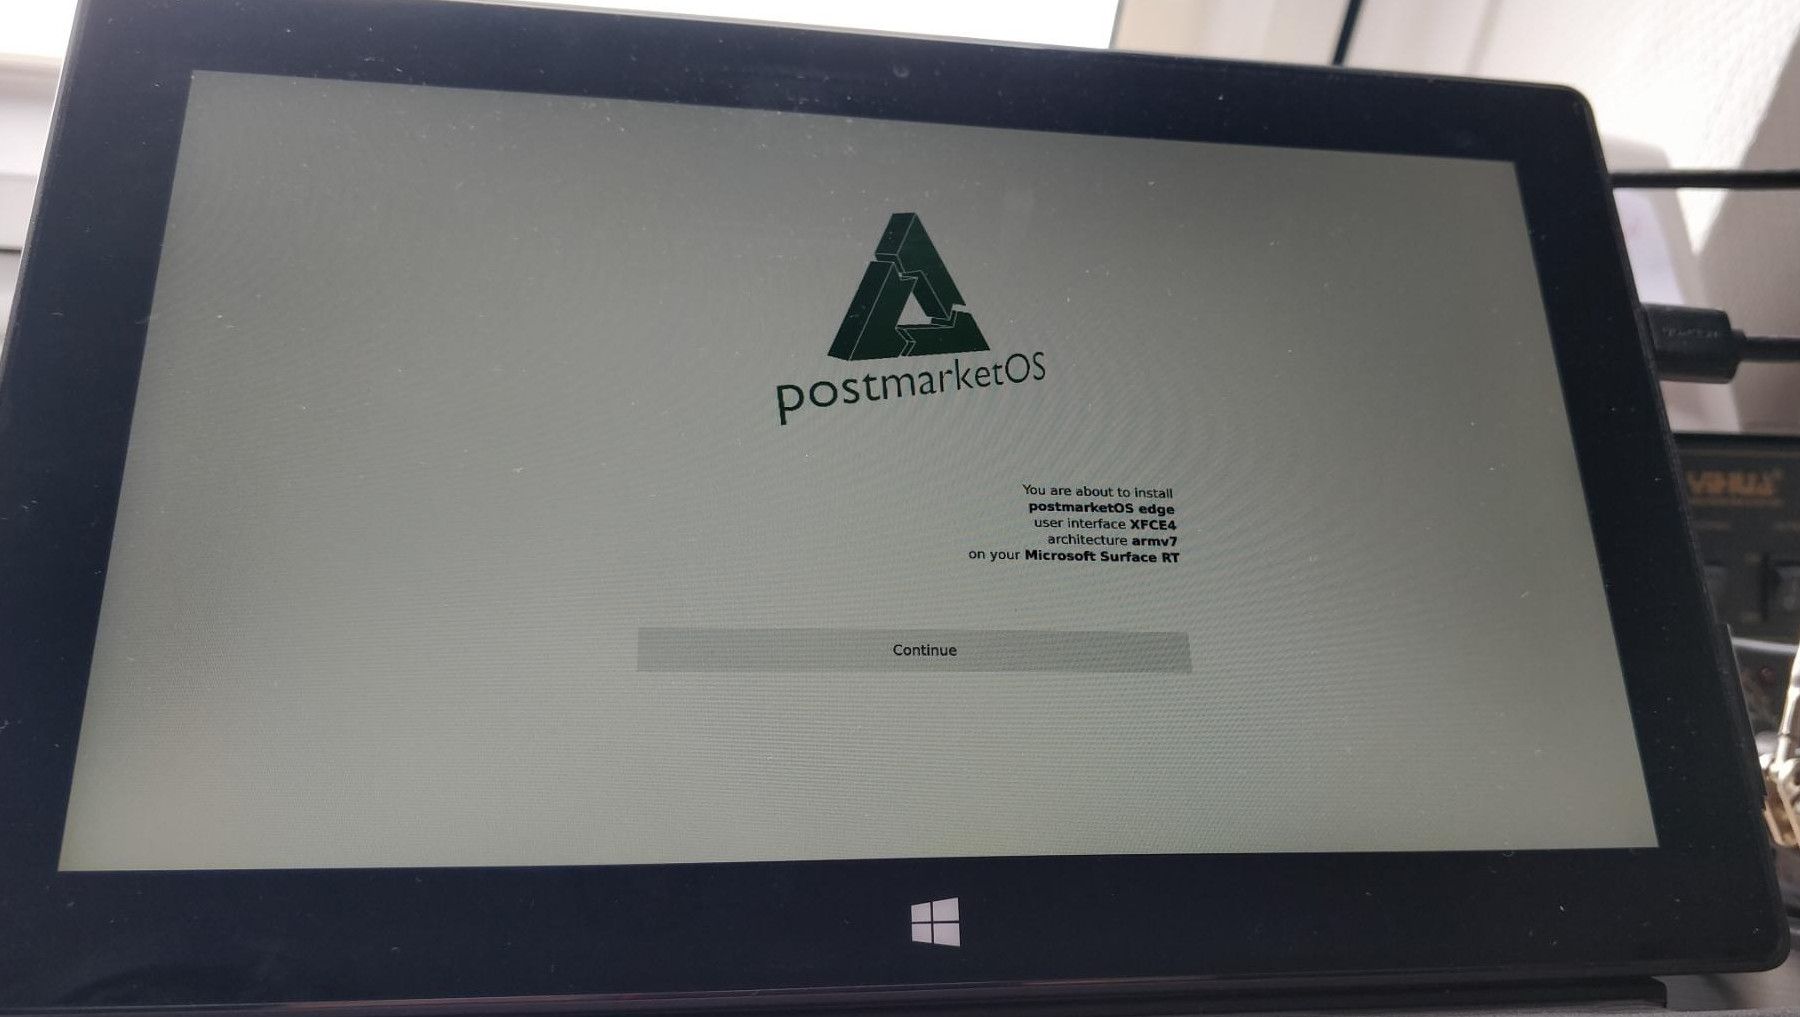
From now on, you can follow instructions of the postmarketOS installer. Install it to an SD card if you are not sure you want to overwrite Windows. Otherwise the eMMC memory is the way to go.
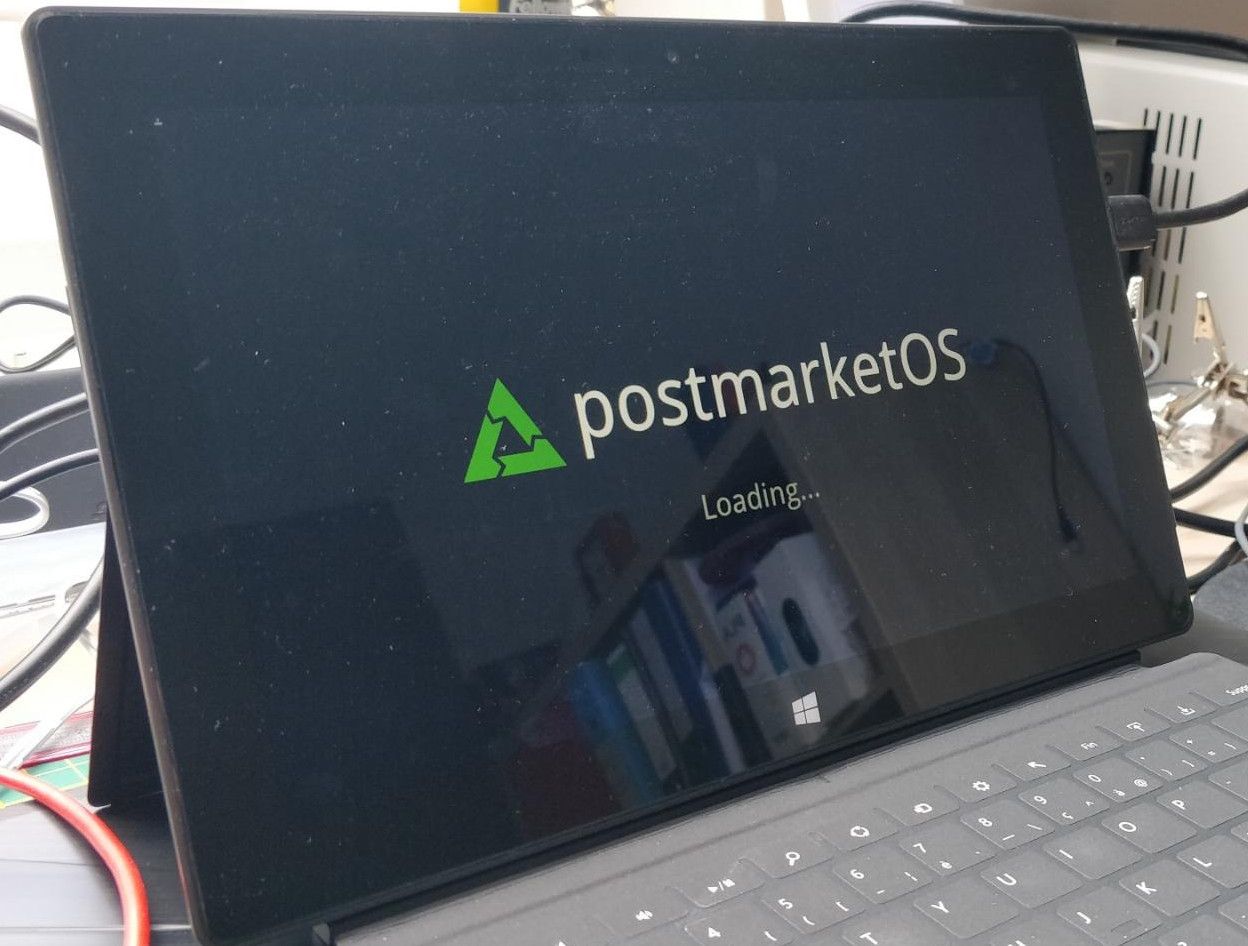
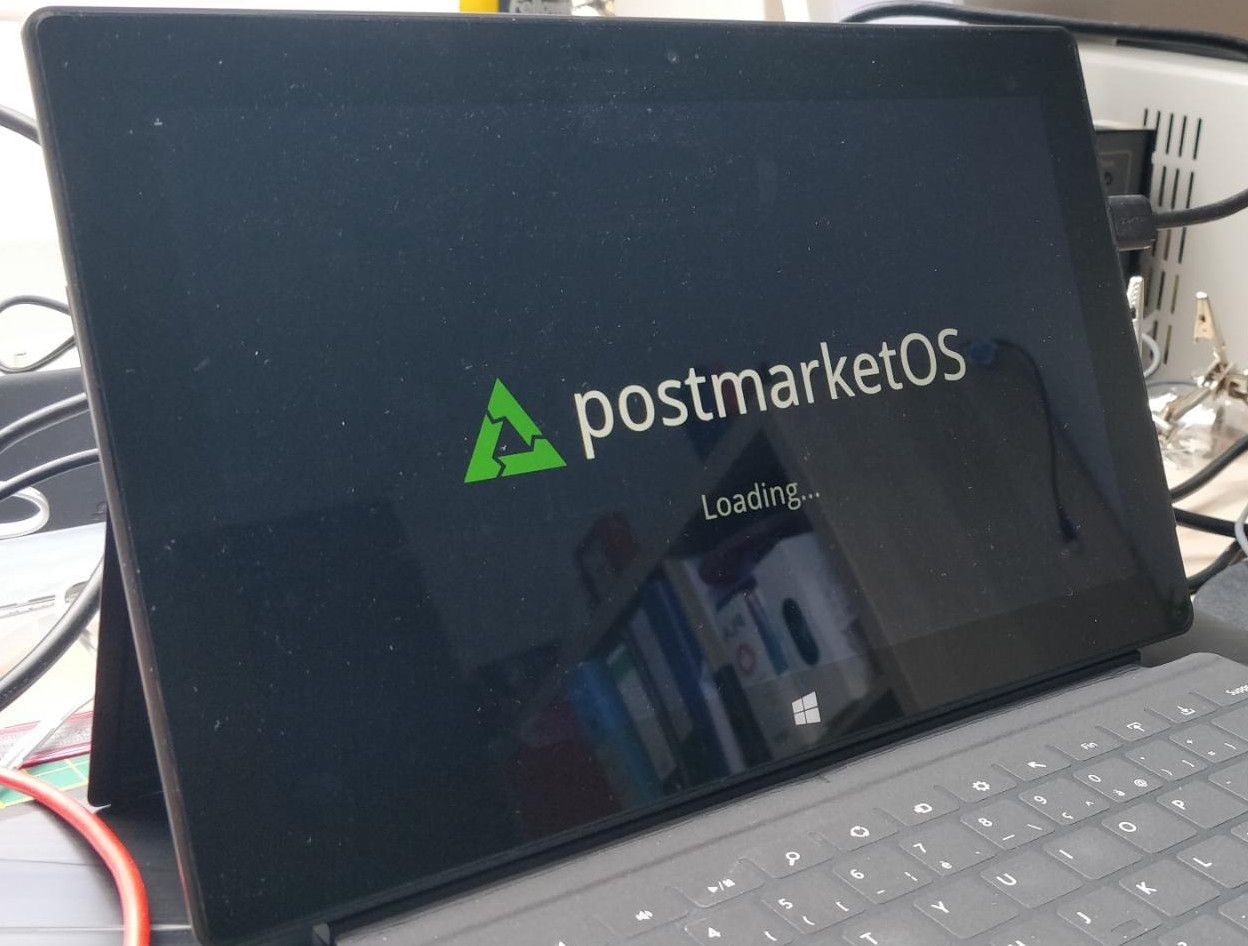
At the end of the install, pull out the USB key and reset the Surface RT. It should boot to postmarketOS:

Conclusion
Booting Linux on the Surface RT is today way easier than it was last year (remember when I discussed doing soldering on the motherboard). But it is still not perfect, even if it is near to be fully compliant for a daily use.
I was able to connect it to my WiFi network, do some basic tests and install and run Firefox. But trying websites that require some CPU juice (like YouTube) quickly shows the limitations that are imposed both by the hardware and the tweaks that are still to be made.
The Open Surface RT community made a tremendous job on this device and is still making great improvements, notably on devices similar to the SurfaceRT. This work really answered some demand by looking at the prices of Surface RT units today:

Let's hope they will manage to make Dynamic Voltage Frequency Scaling work with UEFI. On my side, I know to what I'll repurpose this tablet: a fancy command panel for my Home Assistant domotic installation.
